
What you see
In the world beyond the rift, three set pieces block the way: a jellyfish wall that only opens for a greeting from both players, the Theta Splice machine with two key slots, and the final choice at the end of the game. None of them is random.
Wave to the jellyfish
Where: Chapter 7 · Checkpoint 3 · The Theta Splice
A wall of jellyfish closes the path. It reacts to the wave emote, but only from both of you.
- Both players stand at the wall, one player in each of the two spots. The wall only watches for waves while both spots are taken.
- Open the Emote Wheel and use Wave Emote.
- Both waves must come within 6 seconds of each other. Then the wall disappears.
The wave entry on each player's emote wheel:
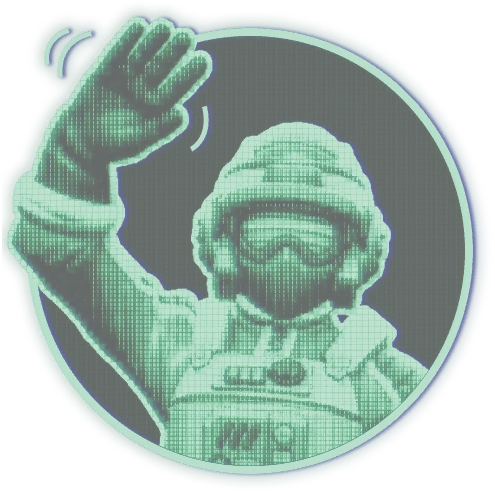 Hook Gun player
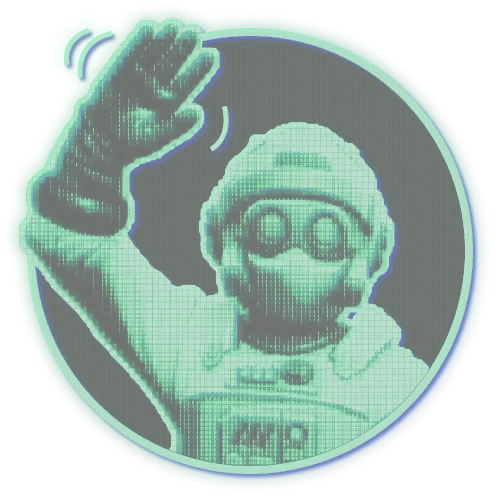 Goop Gun player
Count down out loud: “3, 2, 1, wave”. Both waves must land within 6 seconds.
Show hint
It is not a switch to find. Think about how you would greet a living thing, and do it together.
Show the answerSpoiler
Stand at the wall together, one player in each spot. Both of you use Wave Emote from the Emote Wheel within 6 seconds of each other.
Theta Splice keys
At the Crash Zone, the Theta Splice machine has two key slots. Players often call it the “Theta Connector”. You first reach it at Chapter 7 · Checkpoint 3 · The Theta Splice, but its keys are not there yet.
- The two keys are inside the macrophage in the Farpoint Outpost hub (Chapter 7 · Checkpoint 4 · Farpoint Outpost). They come free after the outpost's final phase.
- One player cannot carry both keys. Once you hold one key, the game will not let you pick up the other. Each player takes one key; it does not matter who takes which.
- Each slot accepts only one of the keys. With both keys in place, the machine powers up and the way on opens.
How to free the keys: see Farpoint Outpost.
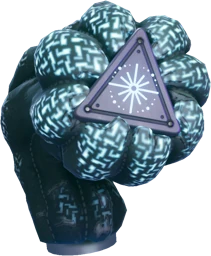 Action-rune key
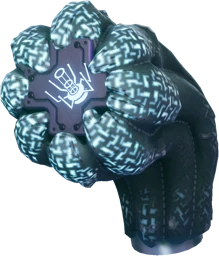 Object-rune key
Say which key you carry before you reach the machine. You need one each, and they go in different slots.
Show hint
Look at the rune on each key. One shows an action rune (a triangle), the other an object rune. The slots are not interchangeable.
Show the answerSpoiler
Put the keys in like this:
- Left slotAction-rune key
- Right slotObject-rune key
Hidden keys
Where: Chapter 7 · Checkpoint 5 · The Fate of Two Worlds
On the way to the final choice, two rooms lead to the elevator: a left room and a right room. Each room has a hidden key and a key slot. The screen by each slot shows a missing keycard.
 Screen by each slot
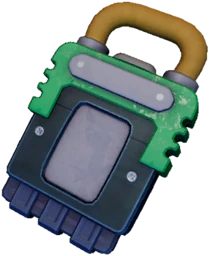 Hidden key one
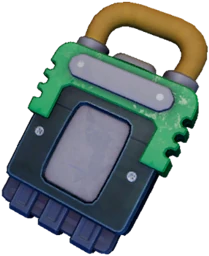 Hidden key two
Show hint
Search both rooms. Each key belongs to the slot in the room where you find it.
Show the answerSpoiler
Hidden key two is in the left room and goes in the left room's slot. Hidden key one is in the right room and goes in the right room's slot. With one key in, the glass doors open part of the way. With both keys in, they open fully.
Final choice
The last puzzle of the game. Its details give away the ending, so everything about it is folded below.
How the final choice worksSpoiler
- The machine has two pull chains. One chain moves the needle toward Close Rift, the other toward Stabilize Rift. The shared screen shows the needle between the two sides.
- To lock in your side, press the two console buttons together: the second press must come within 0.8 seconds of the first. Do this 3 times.
- Pressing the same button twice, or pressing too late, does not count. It just starts a new try.
- A 10-minute timer runs. If it ends before you lock in, the side that is selected at that moment is used. If no side is selected, the game picks one at random.
- Once locked in, the screen shows the chosen side.
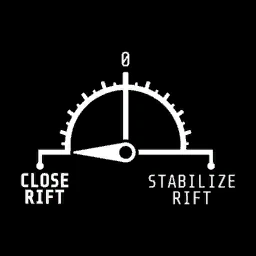 Needle on Close Rift
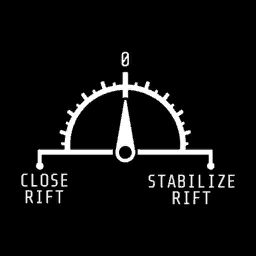 Start: neutral
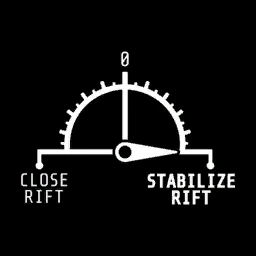 Needle on Stabilize Rift
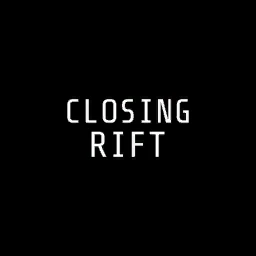 Locked in: closing
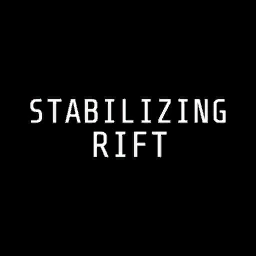 Locked in: stabilizing
Agree on a side first. Then count down for each press: the two buttons must be pressed within 0.8 seconds of each other, 3 times.
What each choice leads toSpoiler
- Close Rift: the closing ending plays, then the credits. Achievement: Tomorrow May Never Come.
- Stabilize Rift: the stabilizing ending plays, then the credits. Achievement: Dawn of Tomorrow.
Each ending has its own achievement, so play the final choice once for each side. In the checkpoint menu, Chapter 7 · Checkpoint 5 · The Fate of Two Worlds leads back to it.

Tomorrow May Never Come
Closed Rift Zero
Finish the final choice on Close the Rift.

Dawn of Tomorrow
Secured Rift Zero
Finish the final choice on Stabilize the Rift.
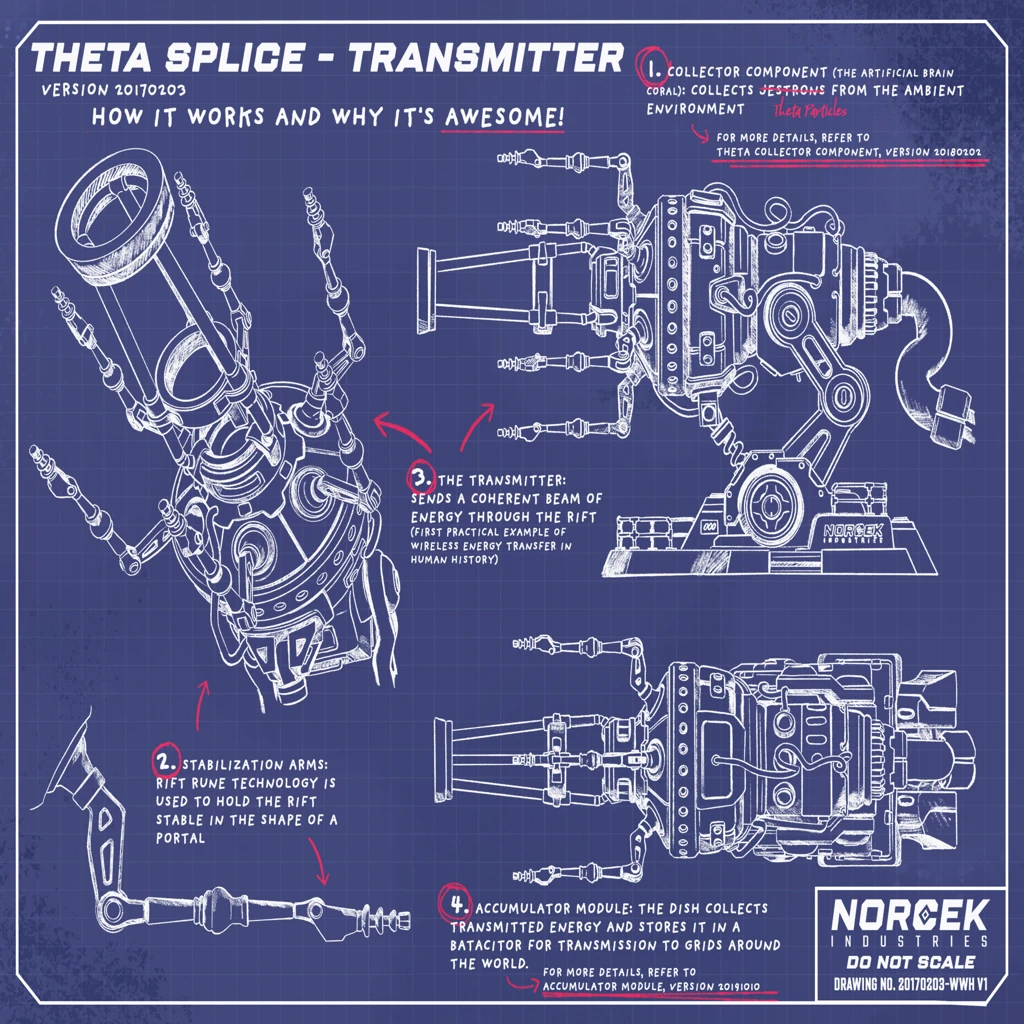
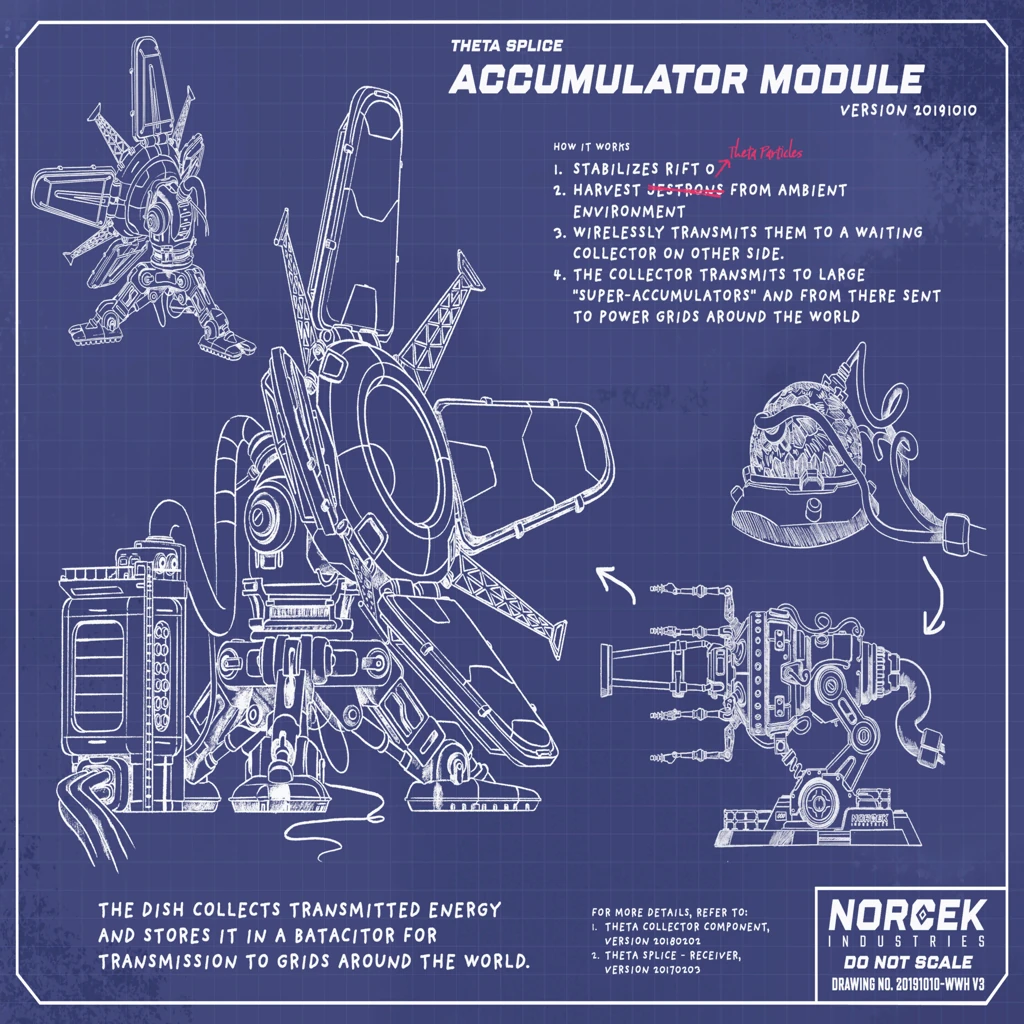
Theta Splice blueprints
Common mistakes
- Waving before both players stand in their spots. The wall only watches while both spots are taken.
- Waving one after the other with a long gap. Both waves must come within 6 seconds.
- Looking for the Theta Splice keys at the Crash Zone. They are in the macrophage in the Farpoint Outpost hub.
- Trying to carry both keys. The game blocks the second key, so each player carries one.
- Swapping the keys. The action-rune key goes left, the object-rune key goes right.
Achievement
Through the Looking Glass
Ventured Beyond the Rift
How it unlocks (spoiler)
Walk into the trigger in the Living Maze landing zone.
We Are Friends!
Got acquainted with an alien lifeform
How it unlocks (spoiler)
Walk into the trigger in the Living Maze translation chamber.
Why So Molecular?
Restored power to the Theta Splice device
How it unlocks (spoiler)
Put both Theta Splice keys in the Crash Zone machine (Action-rune key left, Object-rune key right).
Read from the game files of version 1.0 (no guesswork). Something wrong in your game? Tell us and we will check it. Report a problem