
What you see
The laser lab has three rooms. A button starts the machine in the first room, and it fires a laser beam. You carry crystal pick-ups and set them on pylons to bounce the beam on. Some pylons stand upright and some hang upside down. Each room has its own goal.
There are two kinds of crystal pick-up. The game files call them forward and upward crystals.
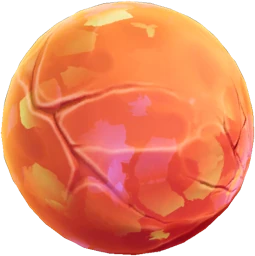 Forward crystal
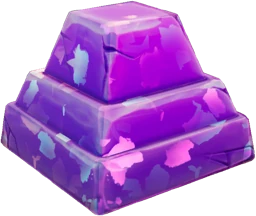 Upward crystal
How it works
| Room | Upright pylons | Upside-down pylons | Slots | Forward crystals | Upward crystals | Goal |
|---|---|---|---|---|---|---|
| Room 1 | 2 | 3 | 5 | 2 | 2 | Hit the redirect node to open the doors. |
| Room 2 | 4 | 6 | 11 | 6 | 2 | Light all 4 passthrough pylons at the same time to open the doors. A redirect node then sends the beam on. |
| Room 3 | 15 | 14 | 30 | 10 | 8 | Pass the beam through the three correct colour crystals in order, then into the end node. |
Carried crystals are taken from you when you leave the puzzle area.
Rooms 1 and 2
These routes come from simulating the beam against the room geometry in the game files. They have not been tested in play yet, so treat them as likely.
Show the Room 1 routeSpoiler
This is the only route that works in this room.
- 1Ceiling pylon · forward crystal (already there). Aim it at step 2, 11 m away.
- 2Ceiling pylon · upward crystal. The beam goes straight down to step 3.
- 3Floor pylon · forward crystal. Aim it at step 4, 8 m away.
- 4Floor pylon · upward crystal. The beam goes straight up to step 5.
- 5Ceiling pylon · forward crystal. Aim it at the redirect node.
Uses 3 forward and 2 upward crystals.
Show the Room 2 routeSpoiler
This is the only route that works in this room.
Both crystals already on pylons in this room are the wrong kind. Swap them: the forward one for an upward one, and the upward one for a forward one.
- 1Ceiling pylon · upward crystal (swap out the forward crystal that is there). The beam goes straight down to step 2.
- 2Floor pylon · forward crystal. Aim it at step 3, 8 m away.
- 3Floor pylon · upward crystal. The beam goes straight up to step 4.
- 4Ceiling pylon · forward crystal. Aim it at step 5, 8 m away.
- 5Ceiling pylon · forward crystal. Aim it at step 6, 7 m away. On the way the beam passes a passthrough pylon. Aim this one carefully: it has almost no room for error.
- 6Ceiling pylon · upward crystal. The beam goes straight down to step 7.
- 7Floor pylon · forward crystal (swap out the upward crystal that is there). Aim it at step 8, 7 m away. On the way the beam passes a passthrough pylon.
- 8Floor pylon · forward crystal. Aim it at step 9, 10 m away. On the way the beam passes a passthrough pylon.
- 9Push block. Push the block here. Its fixed upward crystal sends the beam up to step 10.
- 10Ceiling pylon · forward crystal. Aim it at step 11, 5 m away.
- 11Ceiling pylon · forward crystal. Aim it at the redirect node. On the way the beam passes a passthrough pylon.
Uses 7 forward and 3 upward crystals.
Room 3: the colour crystals
- Six colour crystals stand in the room: 2 blue, 1 green and 3 red. Only one of each colour counts. The others are decoys.
- The beam must pass through the correct crystals in this colour order: blue, green, red. A correct crystal hit out of order does not count, and neither does a decoy.
- If the beam reaches the end node before all three are done in order, the puzzle fails and the end node shows an error screen.
- A decoy turns the beam the same colour as the correct crystal of that colour. The beam colour cannot tell you which one is right. The beam starts orange. It turns blue after the blue crystal, green after the green one, and violet after the red one.
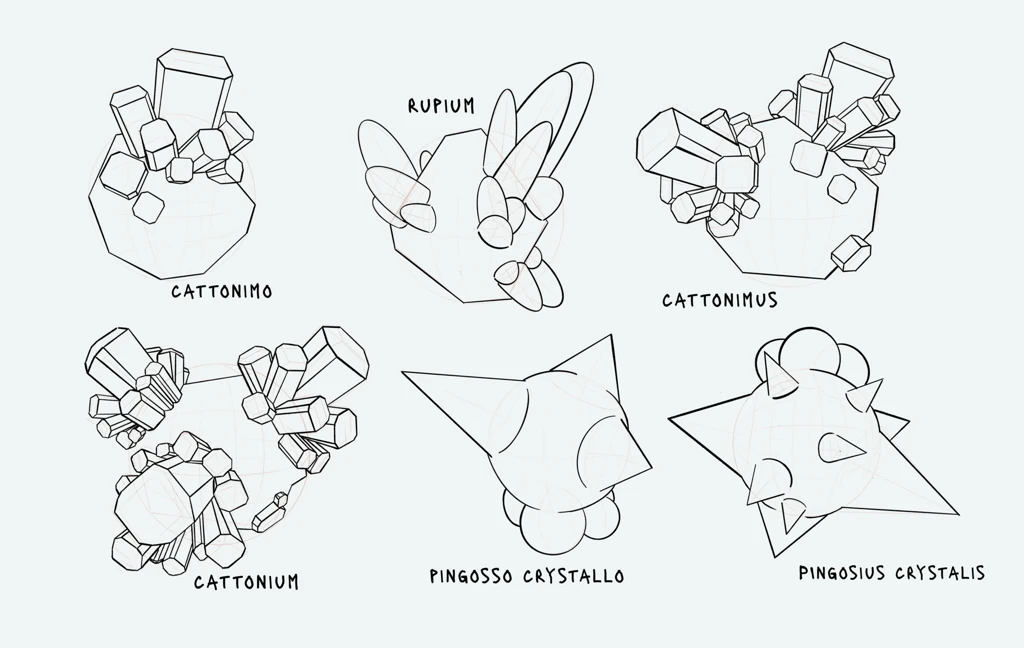
Agree on the crystal names from the chart before you place anything, so “the middle red” means the same thing to both of you.
Show the Room 3 routeSpoiler
Room 3 has many working routes: 1,017 different ones, and the shortest use 18 crystals. Every route found shares these fixed points, so they are likely the parts that matter:
- Blue: only the beam between two ceiling pylons passes the correct blue crystal (steps 4 and 5 in the example).
- Green: only the beam between two other ceiling pylons passes the green crystal (steps 9 and 10).
- Red: a forward crystal on one ceiling pylon, aimed through the correct red crystal (step 16). Only an upward crystal on the floor pylon below it can feed it (step 15).
- End: push the block under the end machine, and feed it from a floor pylon. The block starts on a ledge. The simulation assumes it can be brought down.
Hitting a decoy does not undo your progress, but it does not count either. The example route passes no decoys. These routes come from simulating the beam against the room geometry in the game files. They have not been tested in play yet, so treat them as likely.
Show one example route (18 crystals)
- 1Ceiling pylon · upward crystal. The beam goes straight down to step 2.
- 2Floor pylon · forward crystal. Aim it at step 3, 19 m away.
- 3Floor pylon · upward crystal. The beam goes straight up to step 4.
- 4Ceiling pylon · forward crystal. Aim it at step 5, 10 m away. On the way the beam passes the blue crystal (Pingosius Crystalis).
- 5Ceiling pylon · upward crystal. The beam goes straight down to step 6.
- 6Floor pylon · forward crystal. Aim it at step 7, 28 m away.
- 7Floor pylon · upward crystal. The beam goes straight up to step 8.
- 8Ceiling pylon · forward crystal (already there). Aim it at step 9, 9 m away.
- 9Ceiling pylon · forward crystal (swap out the upward crystal that is there). Aim it at step 10, 15 m away. On the way the beam passes the green crystal (Rupium).
- 10Ceiling pylon · upward crystal. The beam goes straight down to step 11.
- 11Floor pylon · forward crystal. Aim it at step 12, 10 m away.
- 12Floor pylon · forward crystal. Aim it at step 13, 29 m away.
- 13Floor pylon · forward crystal. Aim it at step 14, 20 m away.
- 14Floor pylon · forward crystal. Aim it at step 15, 28 m away.
- 15Floor pylon · upward crystal. The beam goes straight up to step 16.
- 16Ceiling pylon · forward crystal. Aim it at step 17, 6 m away. On the way the beam passes the red crystal (Cattonimus).
- 17Ceiling pylon · upward crystal. The beam goes straight down to step 18.
- 18Floor pylon · forward crystal. Aim it at step 19, 11 m away.
- 19Push block. Push the block under the end machine. Its fixed upward crystal sends the beam up into it.
Uses 11 forward and 7 upward crystals.
Solution
Show hint
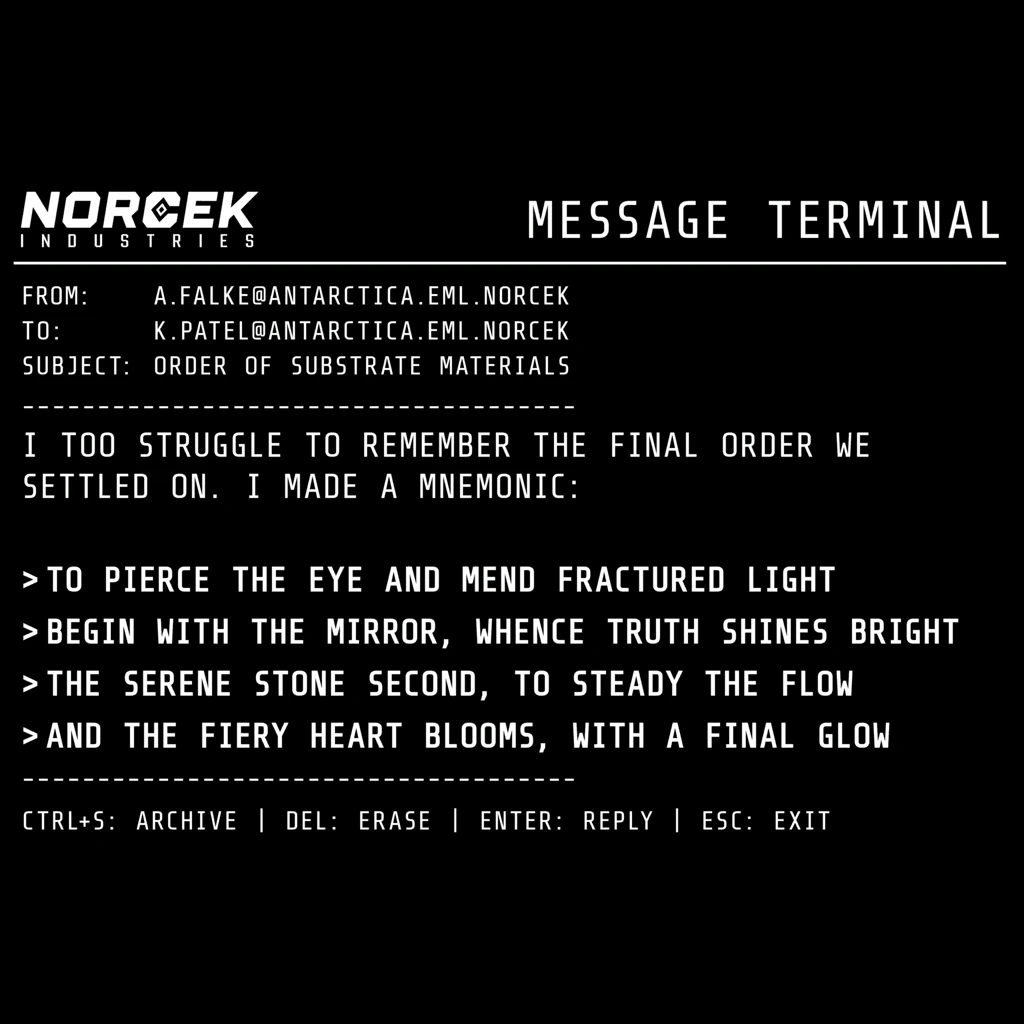
Read the order note first: its three lines name a mirror, a serene stone and a fiery heart, in that order. Then find the crystal that fits each line on the explanation chart.
Show the answerSpoiler
The answer is the same in every game. Send the beam through:
- 1Pingosius CrystalisBlue
- 2RupiumGreen
- 3CattonimusRed
The correct red crystal is the middle one of the three reds.
- “Begin with the mirror”: the chart says researchers who touched Pingosius Crystalis described it as “reflecting their soul”.
- “The serene stone second”: Rupium is the gem of tranquility, and the only green crystal.
- “The fiery heart blooms, with a final glow”: Cattonimus has an inner fire.
Decoys: the other blue crystal (Pingosso Crystallo, by elimination) and the two outer reds. The data does not say which outer red is Cattonimo and which is Cattonium.
The crystal chart shows a drawing of each crystal with its name. Use it to tell the two blues apart. The correct blue crystal is the only colour crystal that stands upright, with the wide end on top and the point below. All the others hang upside down.
Clue documents
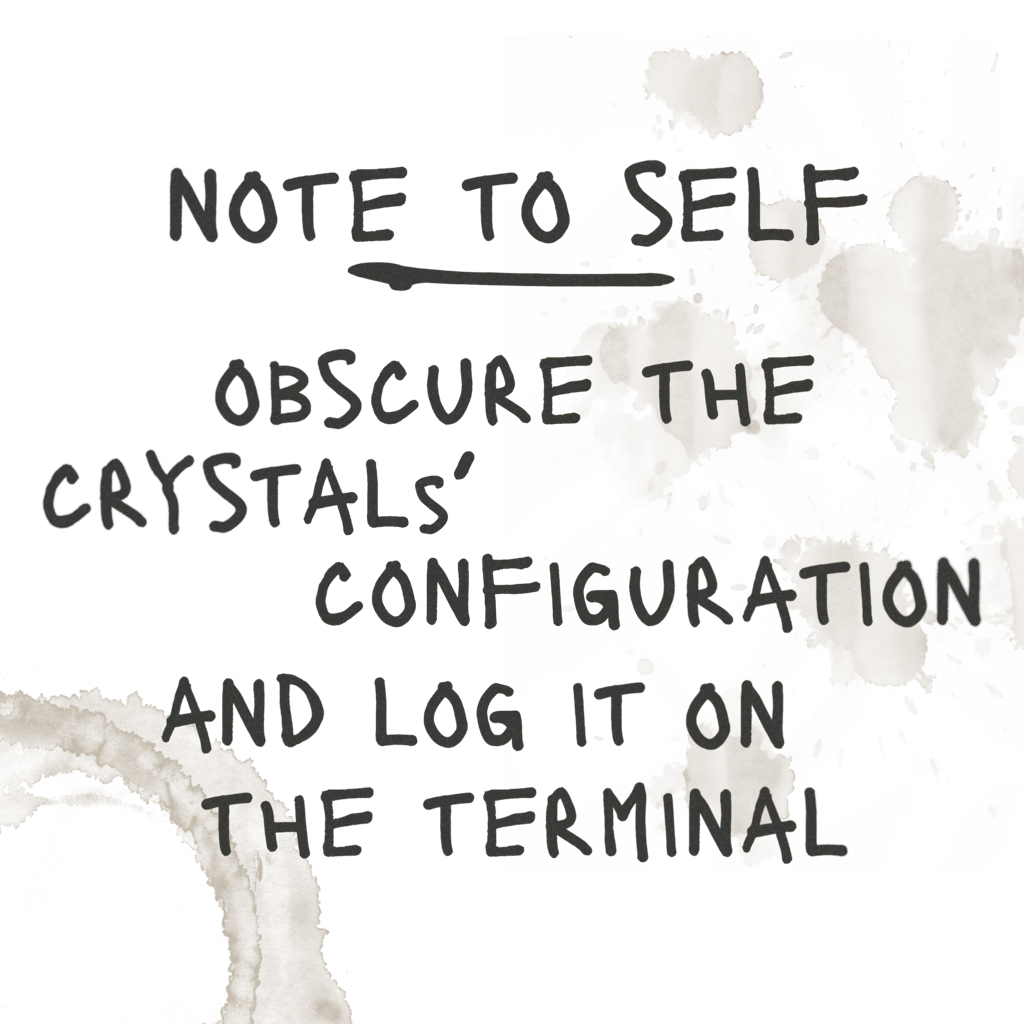
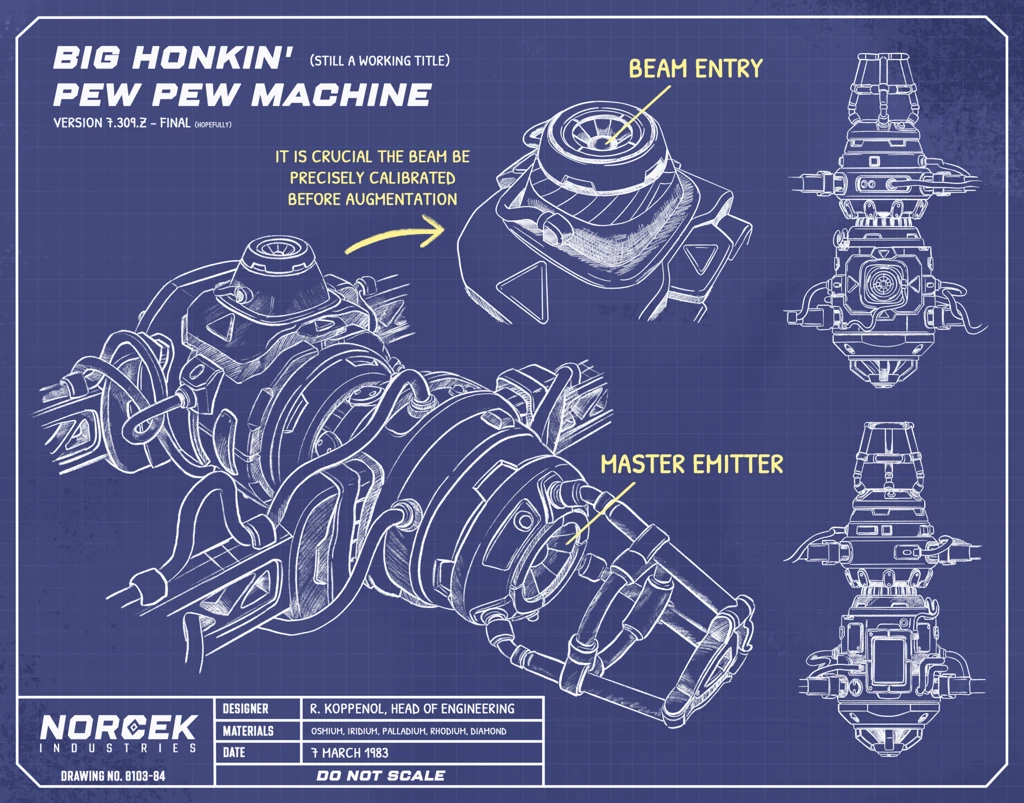
Common mistakes
- Reading “an inner fire” as purple. The third crystal is red.
- Using the wrong blue. The first crystal is Pingosius Crystalis, not Pingosso Crystallo.
- Hitting the right crystals in the wrong order. They only count as blue, then green, then red.
- Checking a crystal by the beam colour. Decoys colour the beam the same way.
- Expecting a different layout in each game. The crystals and the order are fixed.
- Expecting a red beam after the red crystal. Cattonimus turns the beam violet, so a violet beam after the red crystal is right.
Achievement

Any Colour You Like
Reactivated the targeting array
How it unlocks (spoiler)
Solve the Exotic Matter Laboratory laser puzzle.
Read from the game files of version 1.0 (no guesswork). Something wrong in your game? Tell us and we will check it. Report a problem